| |
Deployment
To deploy the tcpIQ Site Editor do the following:
- Follow the instructions for deploying the HTML Rich Text Area. (In short this means
copying the 'inc' directory from c:\program files\tcpiq\HTML Rich Text Area\inc\' to
a convenient location on your web site; generally the /inc/ directory. Then edit the
paths declared at the top of \inc\HTMLRichTextAreaFactorySettings.js to marry your web
server's directory structure.)
- Put the following code into either a new web page or an existing page:
Notes:
- You must do a server-side include to the tcpIQSiteEditor.asp file.
- Call the subroutine 'SiteEditor' and pass in a unique name and the relative path to
the HTML Rich Text Area directory from the current directory.
- Set the permissions of the directory containing the web page and all subdirectories to allow read, write and delete
access for the web server. This is generally done using Windows Explorer. Be sure to contact your system administrator
if you are unsure about how to do this. If you use a web hoster then put in a request with them.
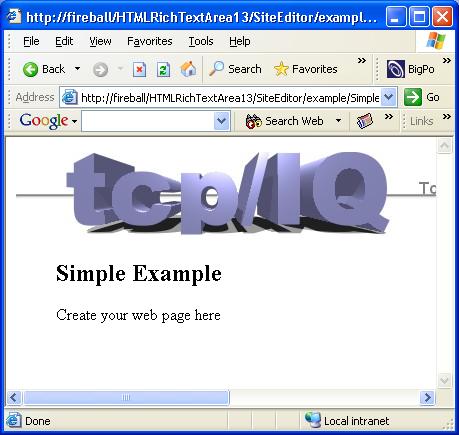
- In a web browser, view the page you just created. No errors should be displayed and the contents of the page
should be empty other then the words 'Create your web page here'.
- Edit the username and password in the /inc/tcpIQSiteEditor.asp file. Go to about line 80 and change it
from the defaults. This is CRITICAL. Release the change to your web server.
- In a web browser, navigate to http://[YOUR WEB SERVER]/inc/tcpIQSiteEditorLogon.asp. Enter the new username
and password that you just set up and log on.
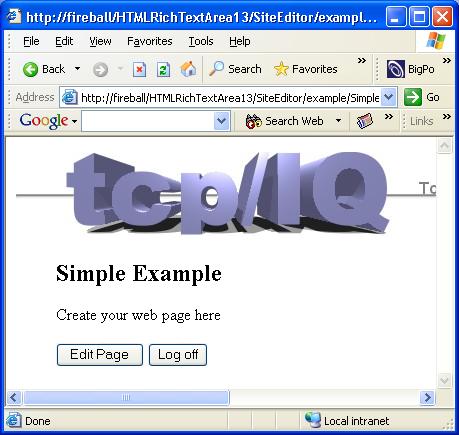
- In a web browser, revisit the page you just created. Since you are now logged on you should see Edit and Log off buttons.
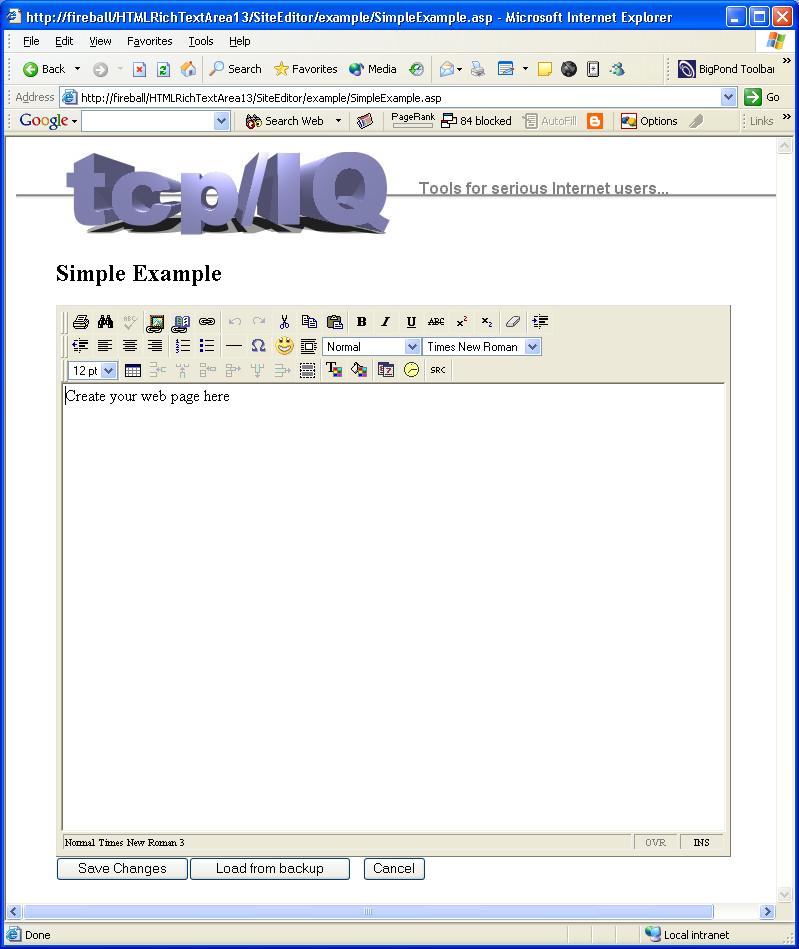
- Click Edit. Verify that the page now loads with the HTML Rich Text Area surrounding the contents of
the page that you were viewing. Edit the page and click Save.
|
|
